How to Use a Wusaki Whetstone?
How to Use a Wusaki Whetstone

A whetstone is an excellent choice for maintaining your kitchen knives. It is, in fact, the most complete solution, since it delivers a result that combines the benefits of a honing steel and a grinding wheel. Like a honing steel, it straightens the cutting edge while removing just the right amount of material when needed (unlike a grinding wheel, which tends to remove too much steel). This way, it gives an effective result while respecting the surface of your blade.
Wusaki offers a range of different, complementary whetstones, so you can work your blades from every angle and adapt to how dull their surface is.
Choosing a Stone Based on the Knife’s Condition:
240/800 Grit: these are fairly coarse grits, recommended for knives that have completely lost their edge. The abrasiveness of these faces cleans the cutting edge, removing the micro-debris that builds up from use. For example, if you have a small chip in the blade, the 240 grit can fix the damage. However, this stone will not give you a cutting edge on its own, and you will still need to finish sharpening with a higher grit. It works, in a sense, as a pre-sharpening step.

600/1000 Grit: This serves as a bridge between the previous stone and higher grits, for a gentle, step-by-step sharpening. The 600 grit is still nicely abrasive, so you can use it to clean up a blade that is starting to get quite dull. Note that 1000 grit is the most commonly used grit for maintaining kitchen knives. If you could only have one stone in your kit, it would be a 1000 grit stone: perfectly balanced, it is abrasive enough to give a boost to a blade that is starting to lose its edge, yet fine enough to be used regularly to maintain a very good cutting level.
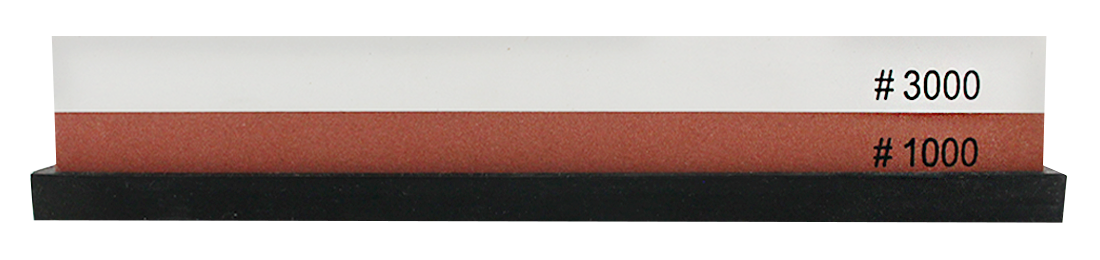
1000/3000 (or 6000) Grit: same story here — 1000 grit is strongly recommended for maintaining your blades. Combined with 3000 or 6000 grit, it produces a great finish on most steels. The edge is polished, for effortless, natural penetration into your food.
3000/8000 Grit: this stone is recommended for an impeccable finish on your steels. The edge is finely polished, and these grits reveal the full cutting potential of your knives. The harder the steel, the more it benefits from this excellent polishing work.
Combined, these stones deliver powerful sharpening for your knives, while remaining a gentle, progressive method.

Preparing the Stone for Sharpening:
You must first soak your Wusaki whetstone in water for at least 15 minutes before using it. Water is very important for slightly softening the grit and helping to create the sharpening “mud” during the process, which helps you get a result more quickly.
Using the Whetstone:
If you are a beginner, we recommend trying the technique first on knives of little value, in case it turns out trickier than expected. Get comfortable with the motion before sharpening your finest blades.
1. Take the stone out of the water after 15 minutes and place it on its non-slip base for extra safety. A practical tip: try raising the side of the stone closest to you, so it can drain away the water and debris released during sharpening.
2. It is important to keep a bowl of water near you during the process, so you can frequently re-wet the stone when it becomes too dry.

3. Position your knife and fingers the same way as in the photo alongside (the thumb and index finger hold the knife for stability, while the 3 fingers of your other hand press evenly on the blade).
4. To do this, use an angle of around 15 degrees (as a guide, that’s roughly the height of a coin between the blade and the stone. The knife itself should be held at around 45° relative to the edges of the stone).
5. With the cutting edge facing you, apply light pressure as you push the knife forward and as you bring it back toward you. Repeat the motion several times, and don’t hesitate to wipe the edge of your knife with a soft cloth to remove any grime that builds up.
6. When you want to sharpen the tip, simply pull the handle a little further toward you to increase the angle, and repeat the same movements as before.
7. To check whether the first side of your edge is done, simply run your finger along the other side of the edge to feel whether the steel on the first side has properly “come down” onto the edge. You can check this: if the edge feels rough, the first part has been done properly and you can move on to the second part of the edge, which will smooth everything out (and above all, do not test the result by running your finger along the edge itself, or you will cut yourself).
8. Then clean your knife and test it by sliding it across a sheet of paper: the cut should be very smooth.

When using a whetstone, make sure it always stays flat, and also make sure to use the entire surface so it does not dip or hollow out.
You can then brush it to remove any debris and let the stone dry at room temperature, out of direct sunlight.
You are now ready to use a whetstone correctly!
If you need help, click here to watch our explanatory video: How to Use a Wusaki Whetstone?